
Make your own Holiday Art!
I'm a little behind on my Christmas decorating (the tree JUST went up today!) But I have a good excuse.....we just returned from a cruise in Mexico with my in-laws and I am still dreaming of sandy beaches and Coronas! I'm hoping to get a few pics up before the holidays, but don"t hold me to it....we have family visiting for pretty much the entire month of December, so I really like to take the time and focus on them while they are here.
Just in case you missed my tutorial on how to make a custom piece of Holiday Art from my guest post over at Between U & Me here it is again!

I really enjoyed creating this piece with a Faux Bois texture & Birch Trees! Let's get painting:)
The supplies you will need are:
1. A stretched canvas, any size (I used a 24 x 36 that I bought from Micheal's with my Coupon! Total: $14)
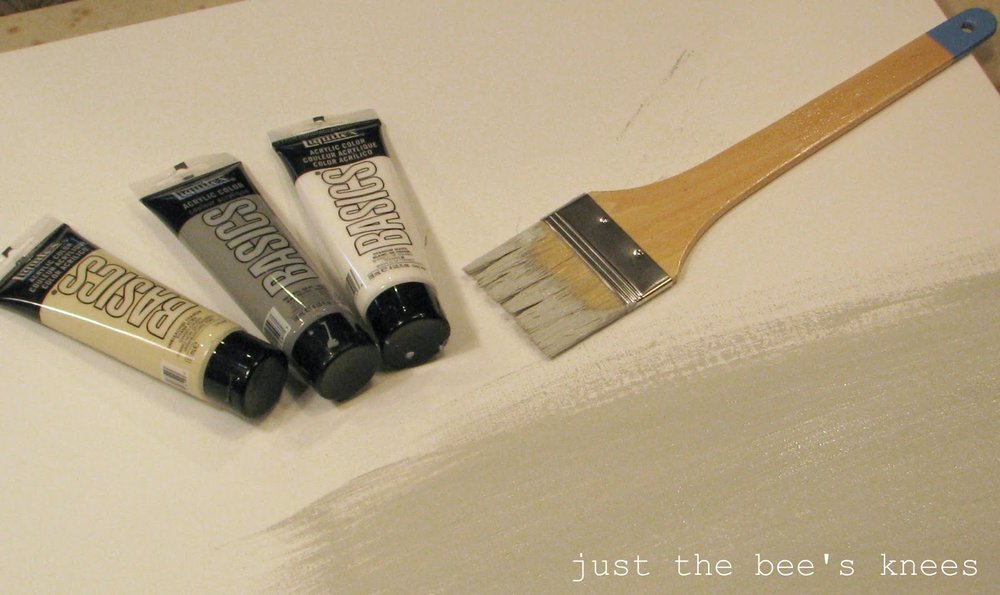
2.
Some artist acrylic paints and brushes. I used Liquitex Basics which
you can find on sale at Arts & Crafts store anywhere from $2 -$3 a
tube.
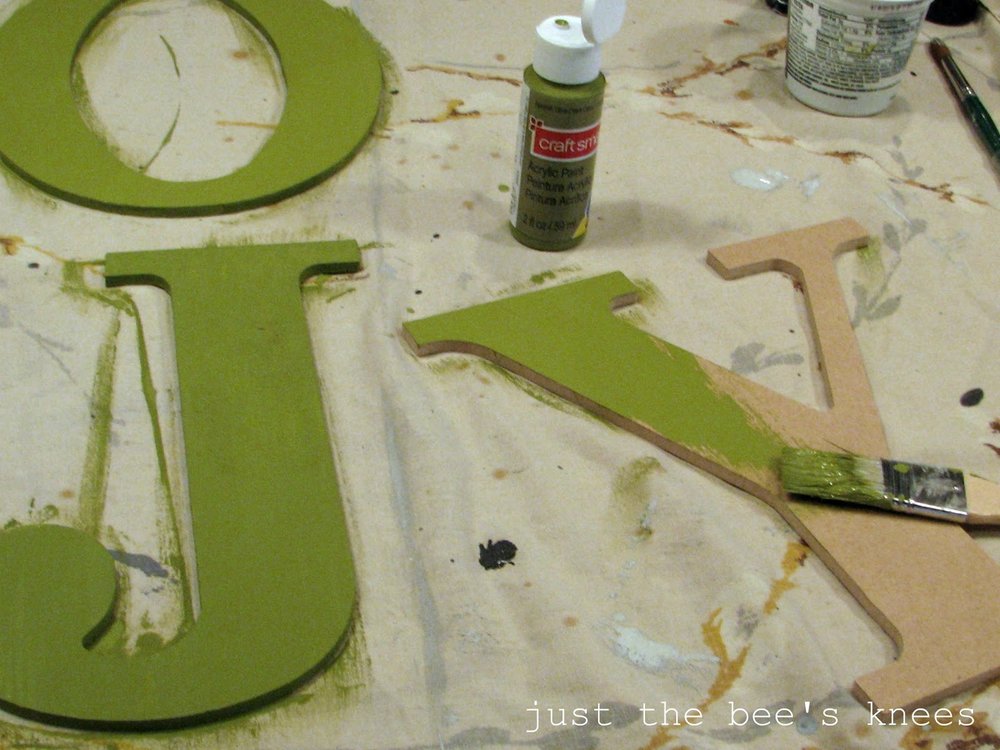
3. Wood letters. (Mine were from Hobby Lobby and cost just over $1 each!)
First you need to slap on a coat of your base colour. And I am serious when I say slap on! No need to be perfect here...let your brush strokes show through! Adds a little texture.
While that is drying, start painting your letters. I just used some craft paint I had on hand.
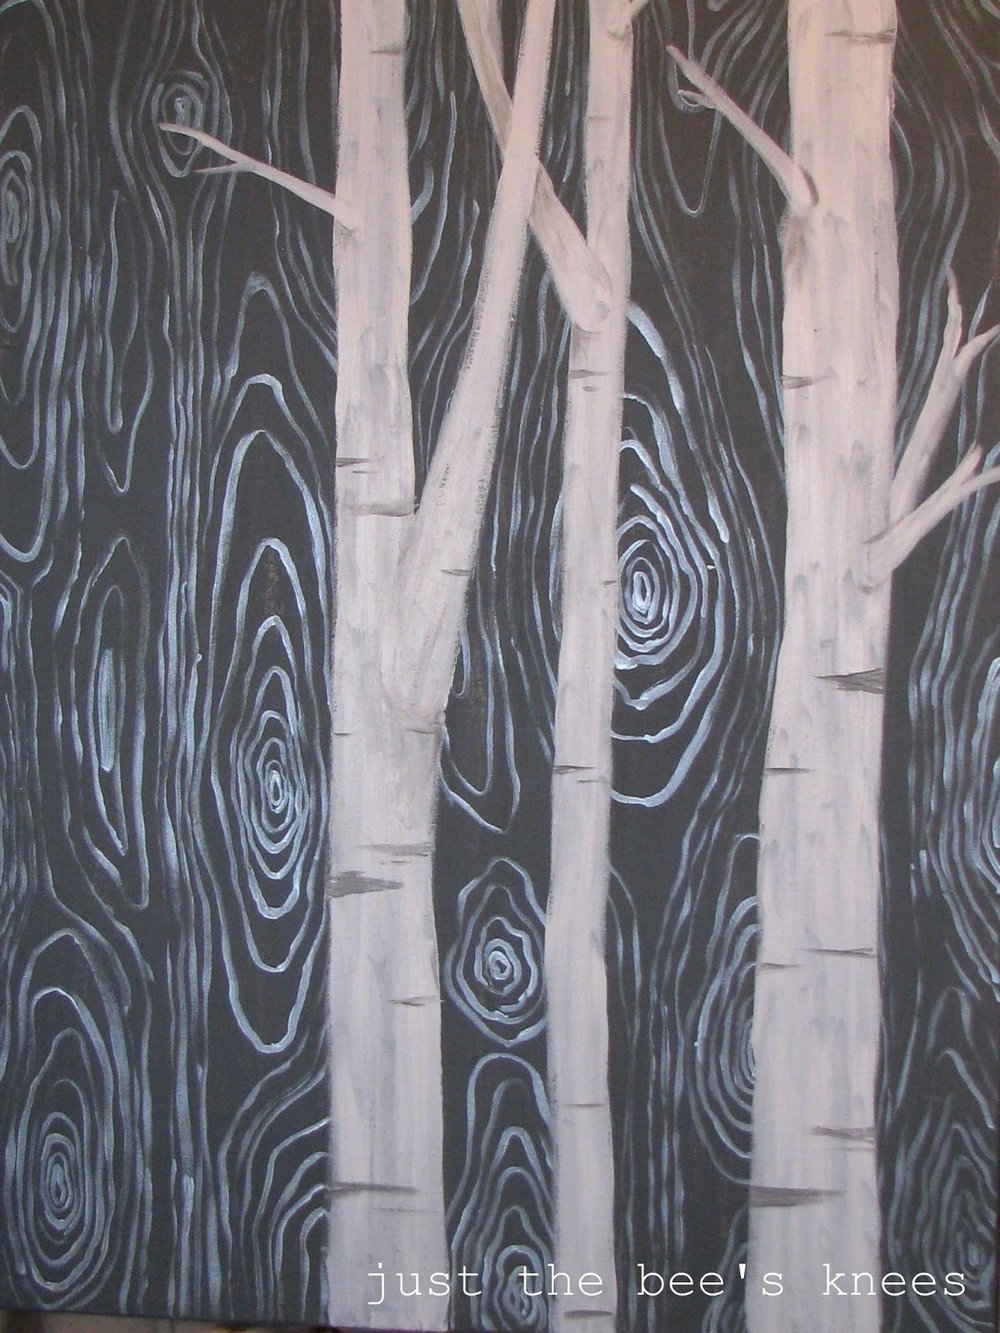
After your base coat on the canvas is dry, start to put on your Faux Bois texture. (I'm just loving this Faux Bois trend right now!)

This is so easy. Just paint circles and lines in a random pattern in a contrasting color. (I used Martha Stewart Metallic Craft Paint to add a little shimmer.) The messier the better! Wood grain is imperfect, so your lines don't have to be:) If you need a little guidance, find a Faux Bois image. I had a piece of scrapbook paper that I used as a cheat sheet.
Next step is to paint on your birch trees using a white paint.

Again, imperfection is key. My brush strokes end up giving the trees some texture! (And feel free to use an image as a cheat sheet here too!)
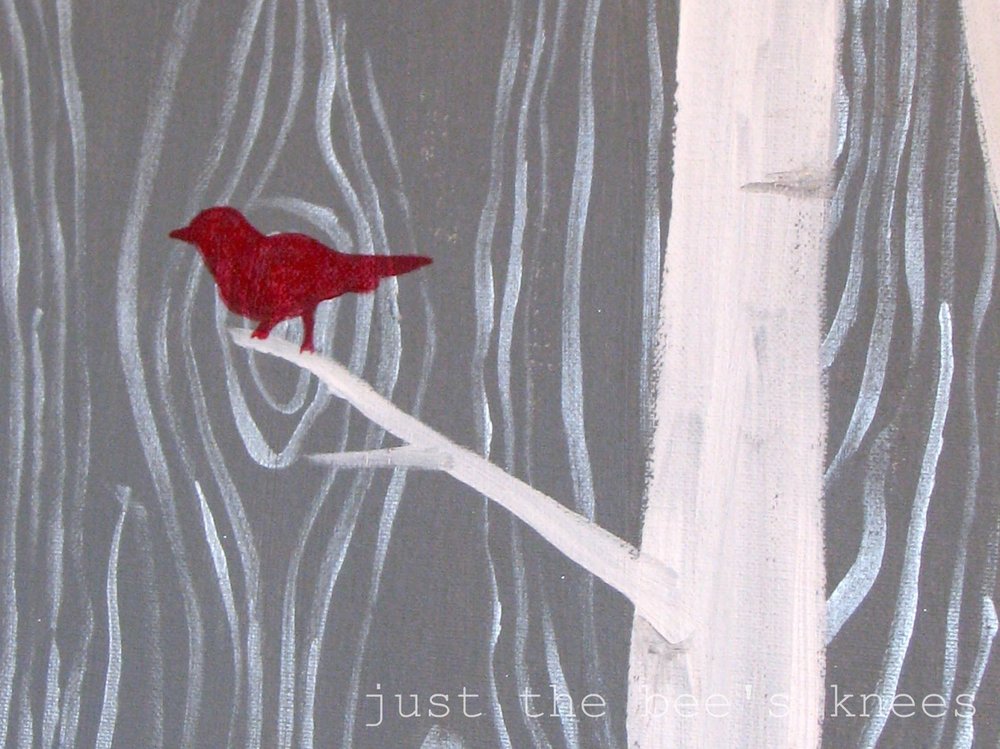
I
added in a few lines on the trees to look like birch bark, then painted
a silhouette of a small red bird on the top branch. (You can use a
stencil here or even glue on a paper cut-out).
When all the paint is dry, mount your letters to the canvas using double sided mounting tape.
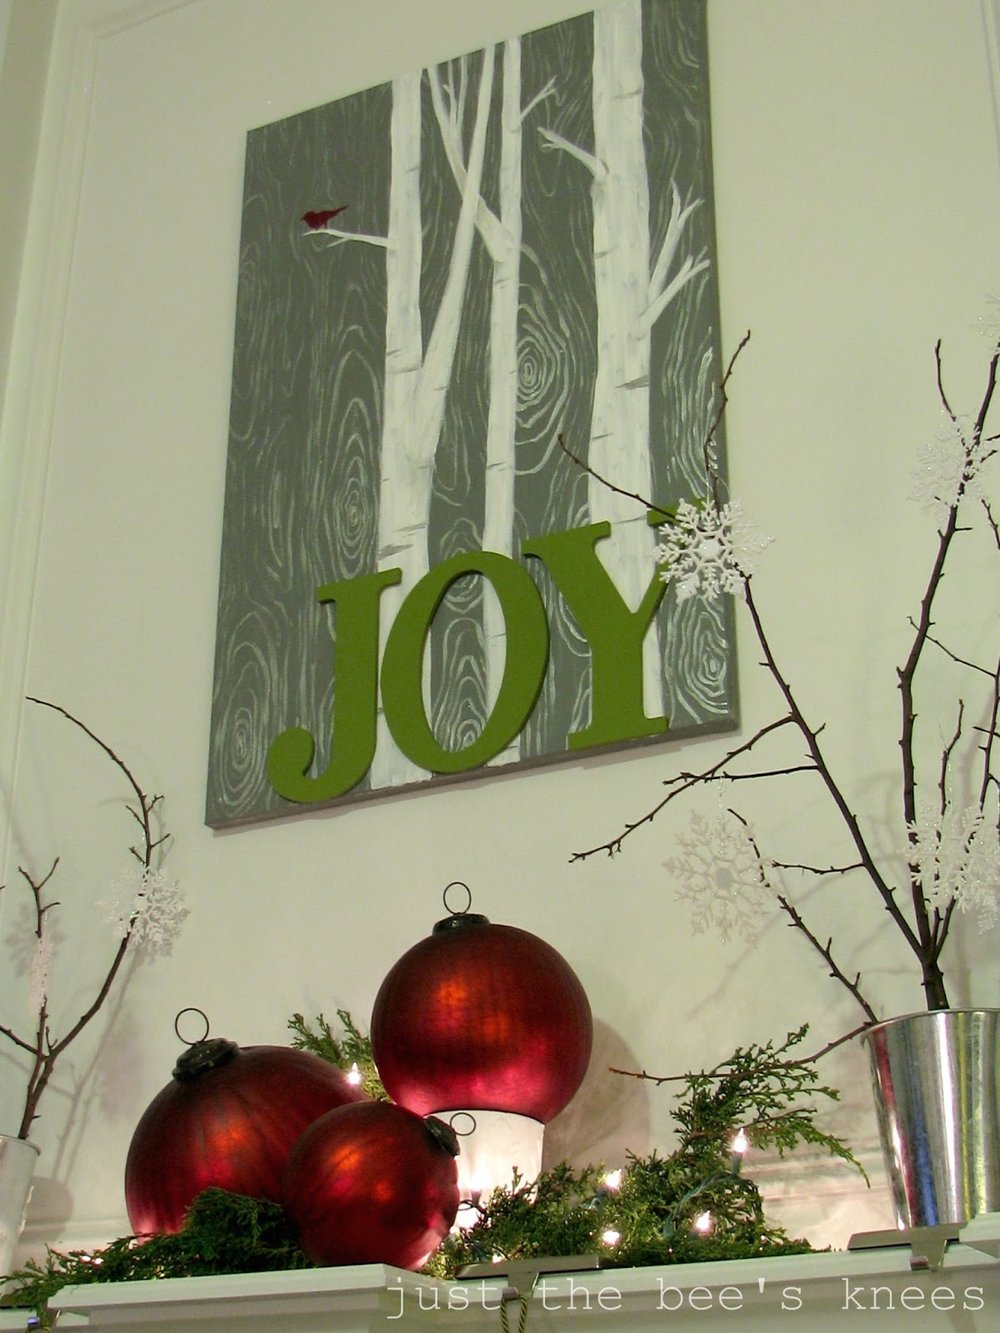
Now you have a one-of-a-kind piece of Holiday art you can enjoy for years to come!
A big thanks again to Courtney over at Between U & Me for having me as a guest! Make sure to head over and check out her blog!
Feliz Navidad!

Linking Up To: