DIY Felted Ball Mobile
Last December, we were blessed with a new addition to our family! My sister gave birth to sweet baby boy, and my boys were over the moon to FINALLY have a first cousin. I knew I wanted to make something special for his nursery, so when my sister mentioned a felt ball mobile she saw and really liked, I jumped on the chance to DIY one for him.
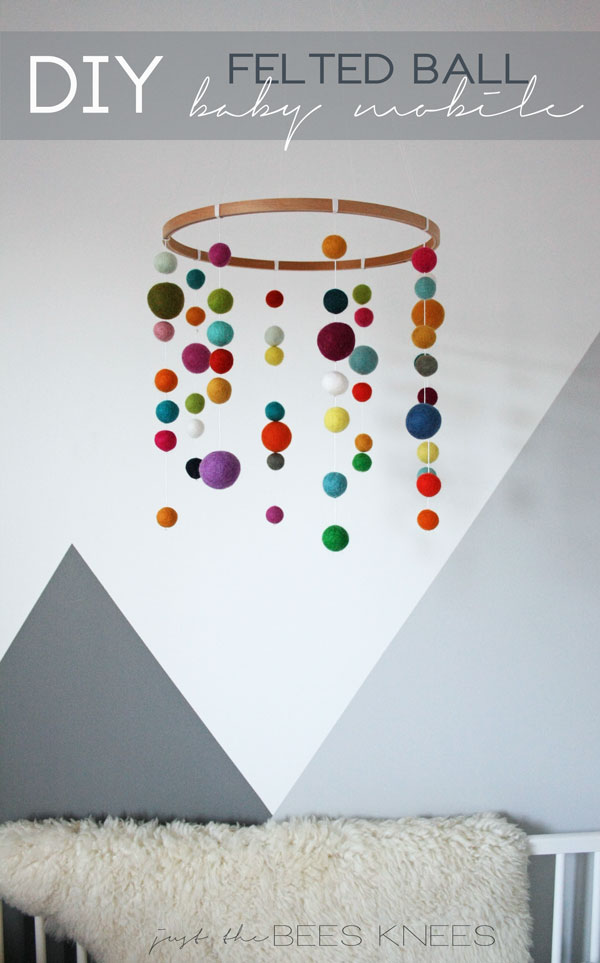
How awesome is that feature wall! His entire nursery is magazine worthy, and I promise I will snap some more pics of it and take you on a tour next time I visit.
In the meantime, I'm going to give you a quick tutorial on how to make your own felted ball mobile for your baby (or nephew!) Its really quite easy. The whole project took me only about an hour.
Supplies:
I ordered mine from this and this Etsy shop. I used 2 sizes; 2cm and 3cm, both in multicolor.
(I used a #5 for added strength)
Instructions:
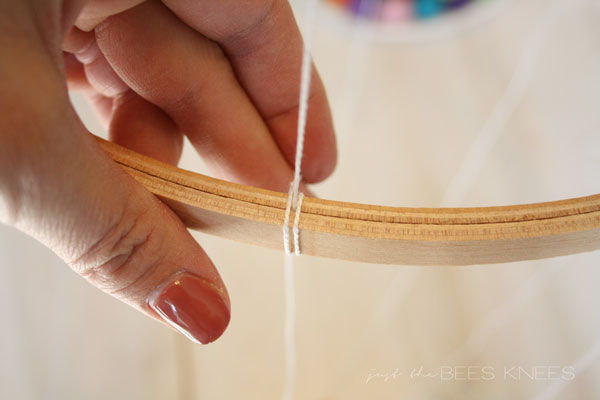
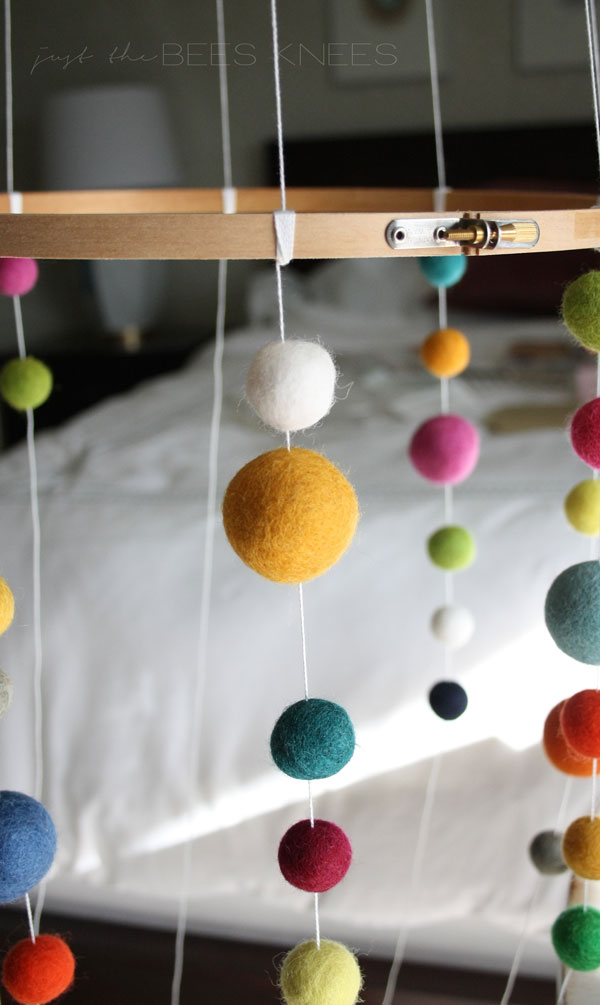
Start by deciding how many dangly arms (for a lack of a better term) you want on your mobile. I did 8. Evenly space the locations of each dangly arm (really need to think of a better term) on your mobile, and mark somehow. I just put a dot on the bottom of the hoop. Then, thread the top of your floss up between the rings on your hoop. This will create one of the hanger arms.
(Make sure you leave quite a bit of floss so you can hang your mobile at the appropriate height!)
If you need to loosen the tension of th whoop to slide the floss through, do so, but make sure it is tightened again before you proceed to the next step.
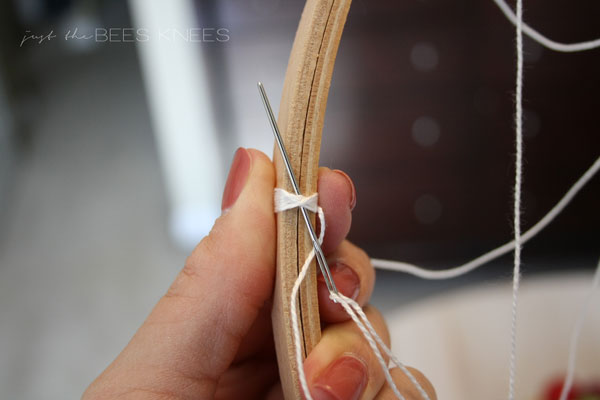
After the floss is thread through the 2 hoops, start wrapping the floss from the bottom of the hoop around each side of the piece of floss that will be used as the hanger, one side at a time. I wrapped it about 6 times on each side, crossing underneath the hoop.
When you are finished wrapping, thread the end of the floss through an embroidery needle, and thread it through your wrapped floss on the underside of the hoop. Do this a few times to make sure it secure, then cut the floss to the desired length you want your dangly arm. My advise would be to figure out how long of a thread you need to do this step, then pre-cut the other pieces. Don't be afraid to make them even a little longer than you think you need them...you can always cut them at the end!

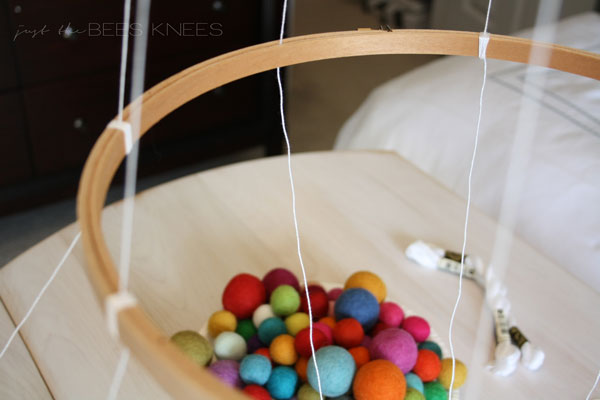
Once you have all the arms done, its time to thread the felt balls!
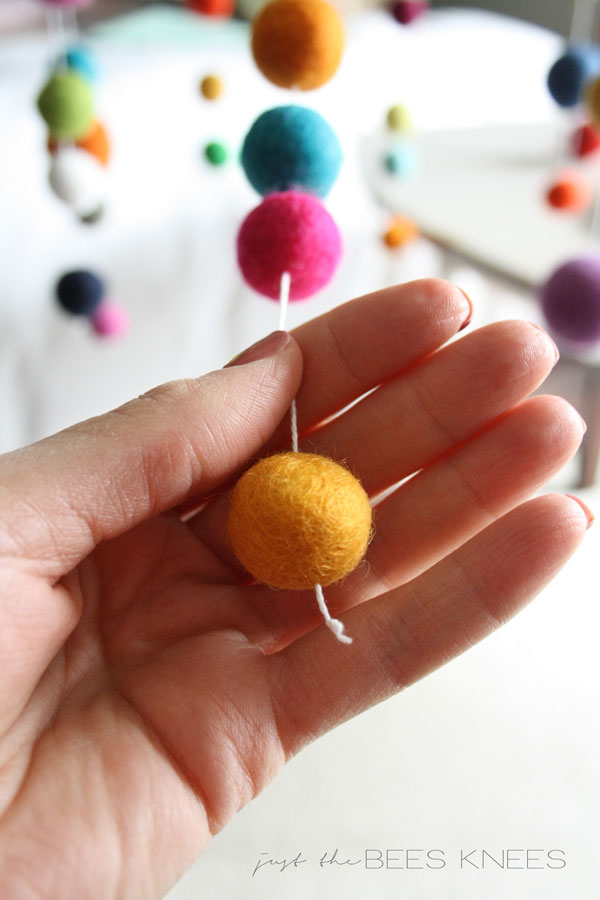
The process of threading goes a lot quicker if you are able to hang your mobile from somewhere first. I hung mine from the ceiling fan in my craft room :) Just thread the balls onto your floss using a long embroidery needle. I varied the colors, sizes and spacing of the balls as I went along.

When I was satisfied with the length of the dangly arm of the mobile, I simply trimmed it and tied a knot in the bottom of the thread to prevent the ball from falling off.
When its time to hang your mobile, simply gather all the hanger strings together, and then tie them in a loop knot at the desired height, making sure that the mobile is level. You can then hang it by a ceiling hook and trim the excess thread. And just as a disclaimer...please make sure it is hung high enough so baby can't reach! Because we all know they will not be able to resist trying to grab this fun mobile!
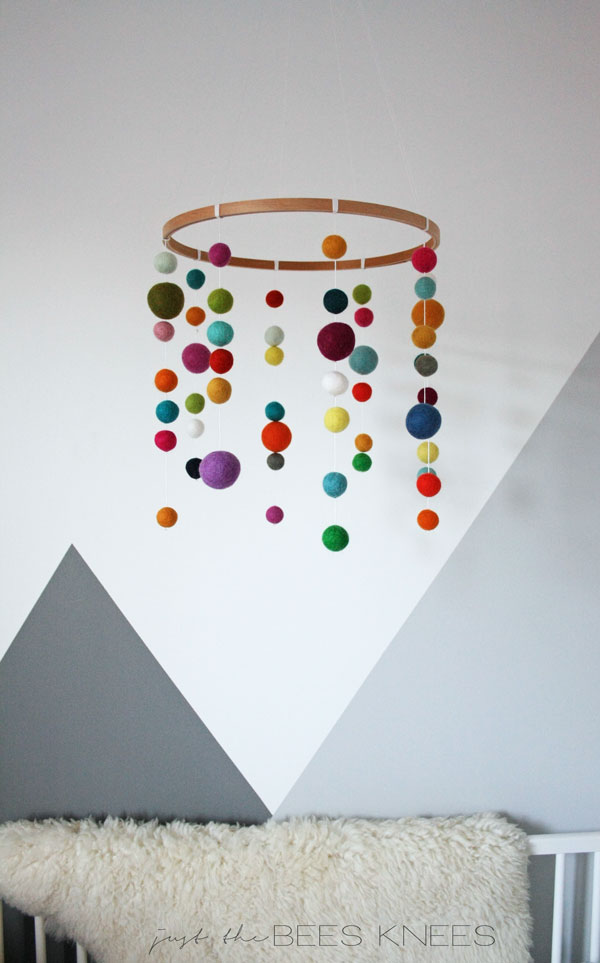
My nephew is only 8 weeks, but he is already mesmerized with the bright colors in this mobile! And quite frankly, I am too.